User Guide
This guide explains how to easily export your health data using Health Export For AI.
[!NOTE] The images in this guide are from the Android version, but the basic operations are the same for the iOS version. On iOS, “Apple Health” is used instead of “Health Connect”.
1. Initial Setup
Install Health Connect
This app uses Health Connect on Android and Apple Health on iOS.
- Android: On Android 14 and later, Health Connect is pre-installed. For earlier versions, please install it from the Play Store.
- iOS: No additional installation is required.
Grant Permissions
- When you first launch the app, you will be asked to grant access to your health data and Google Drive.
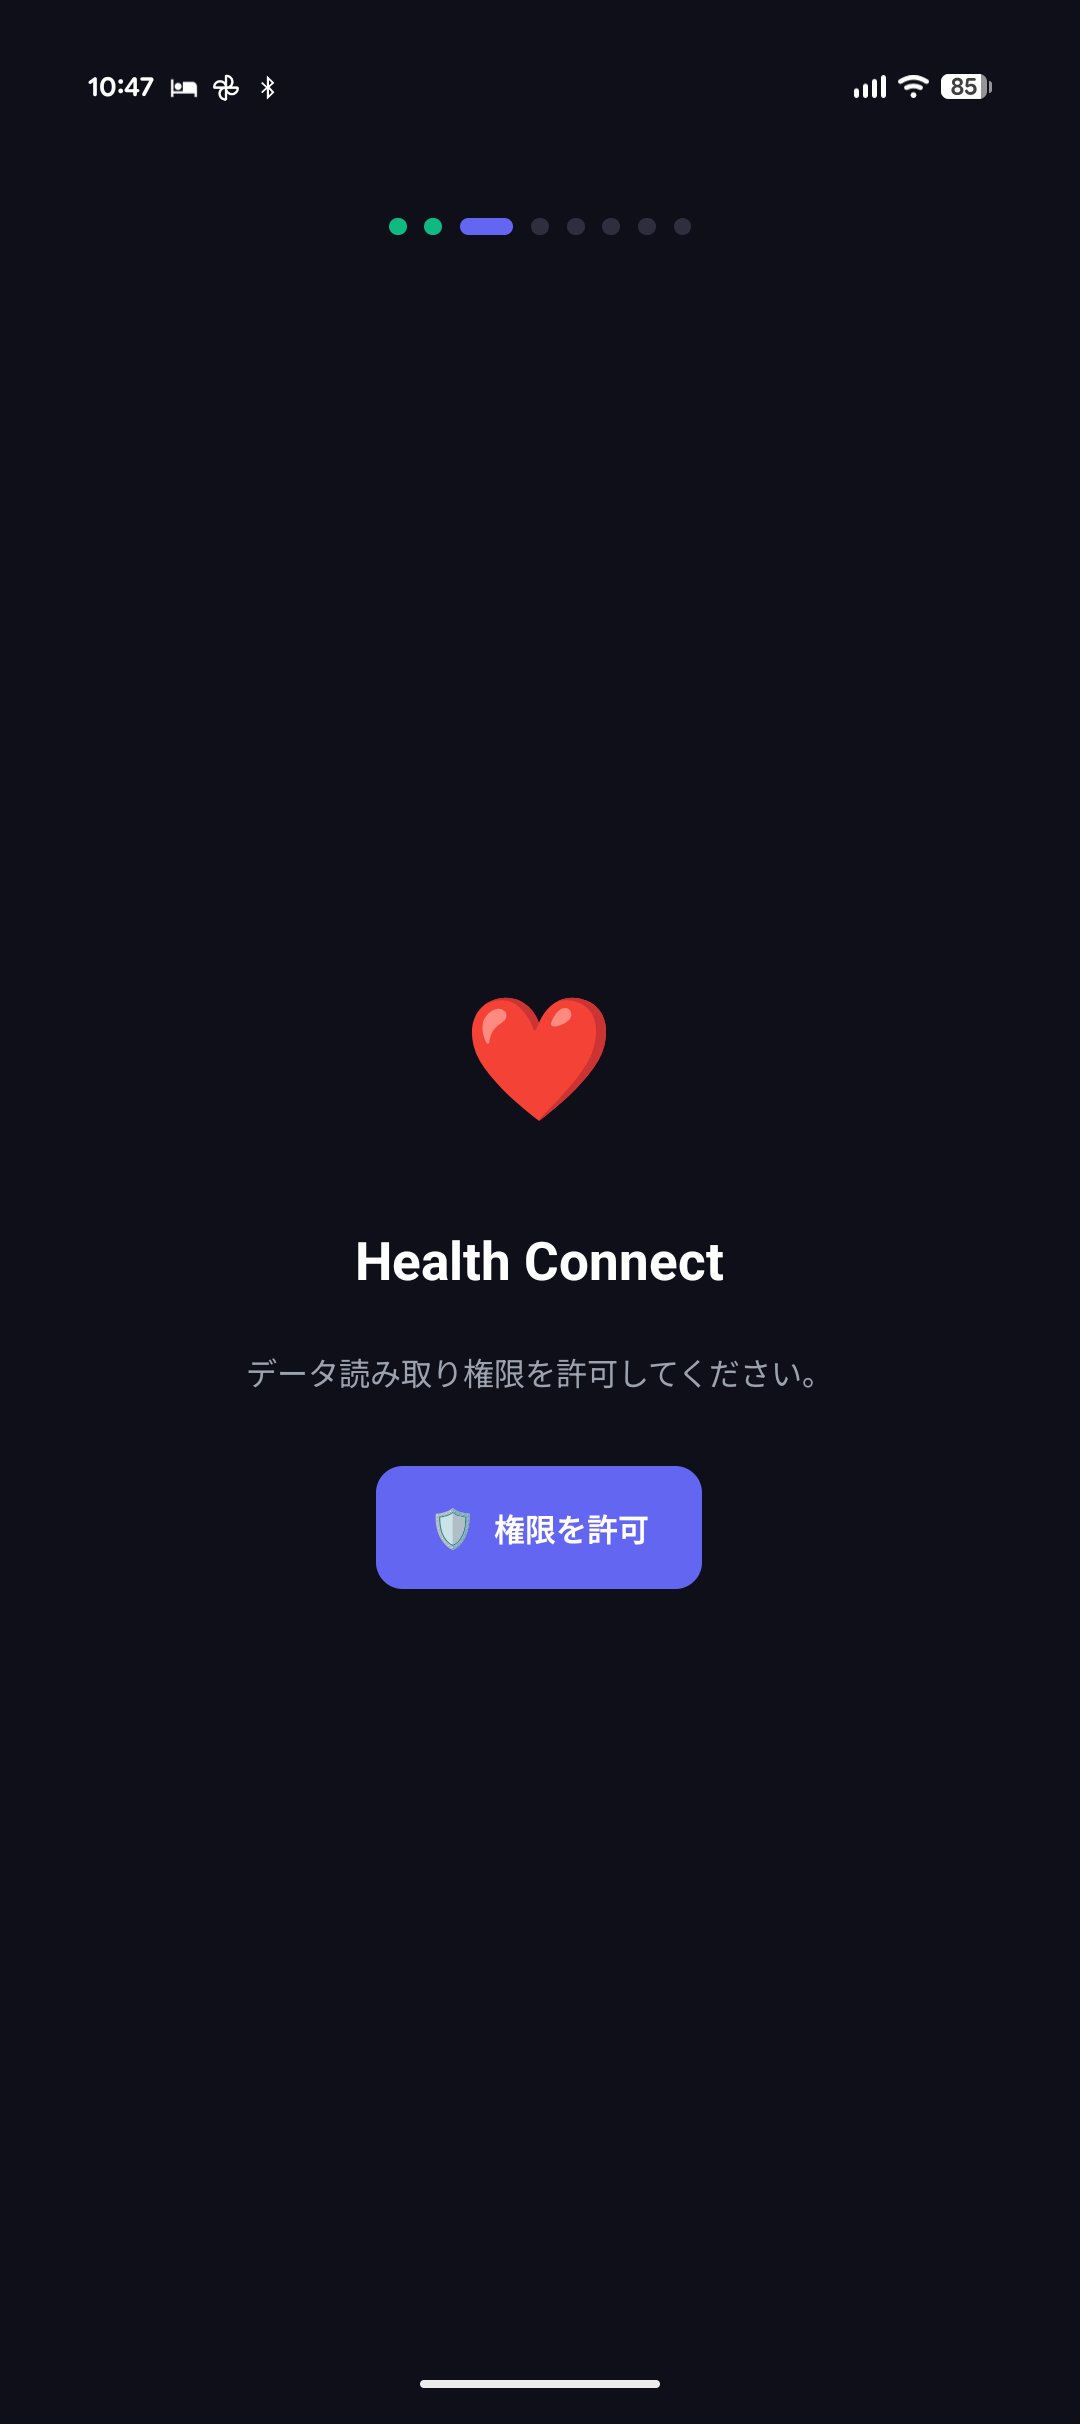
- Android: The Health Connect permission request screen will appear. Please select “Allow all”.
- iOS: The Apple Health access permission screen will appear. Please select “Turn All Categories On” and tap “Allow” at the top right.

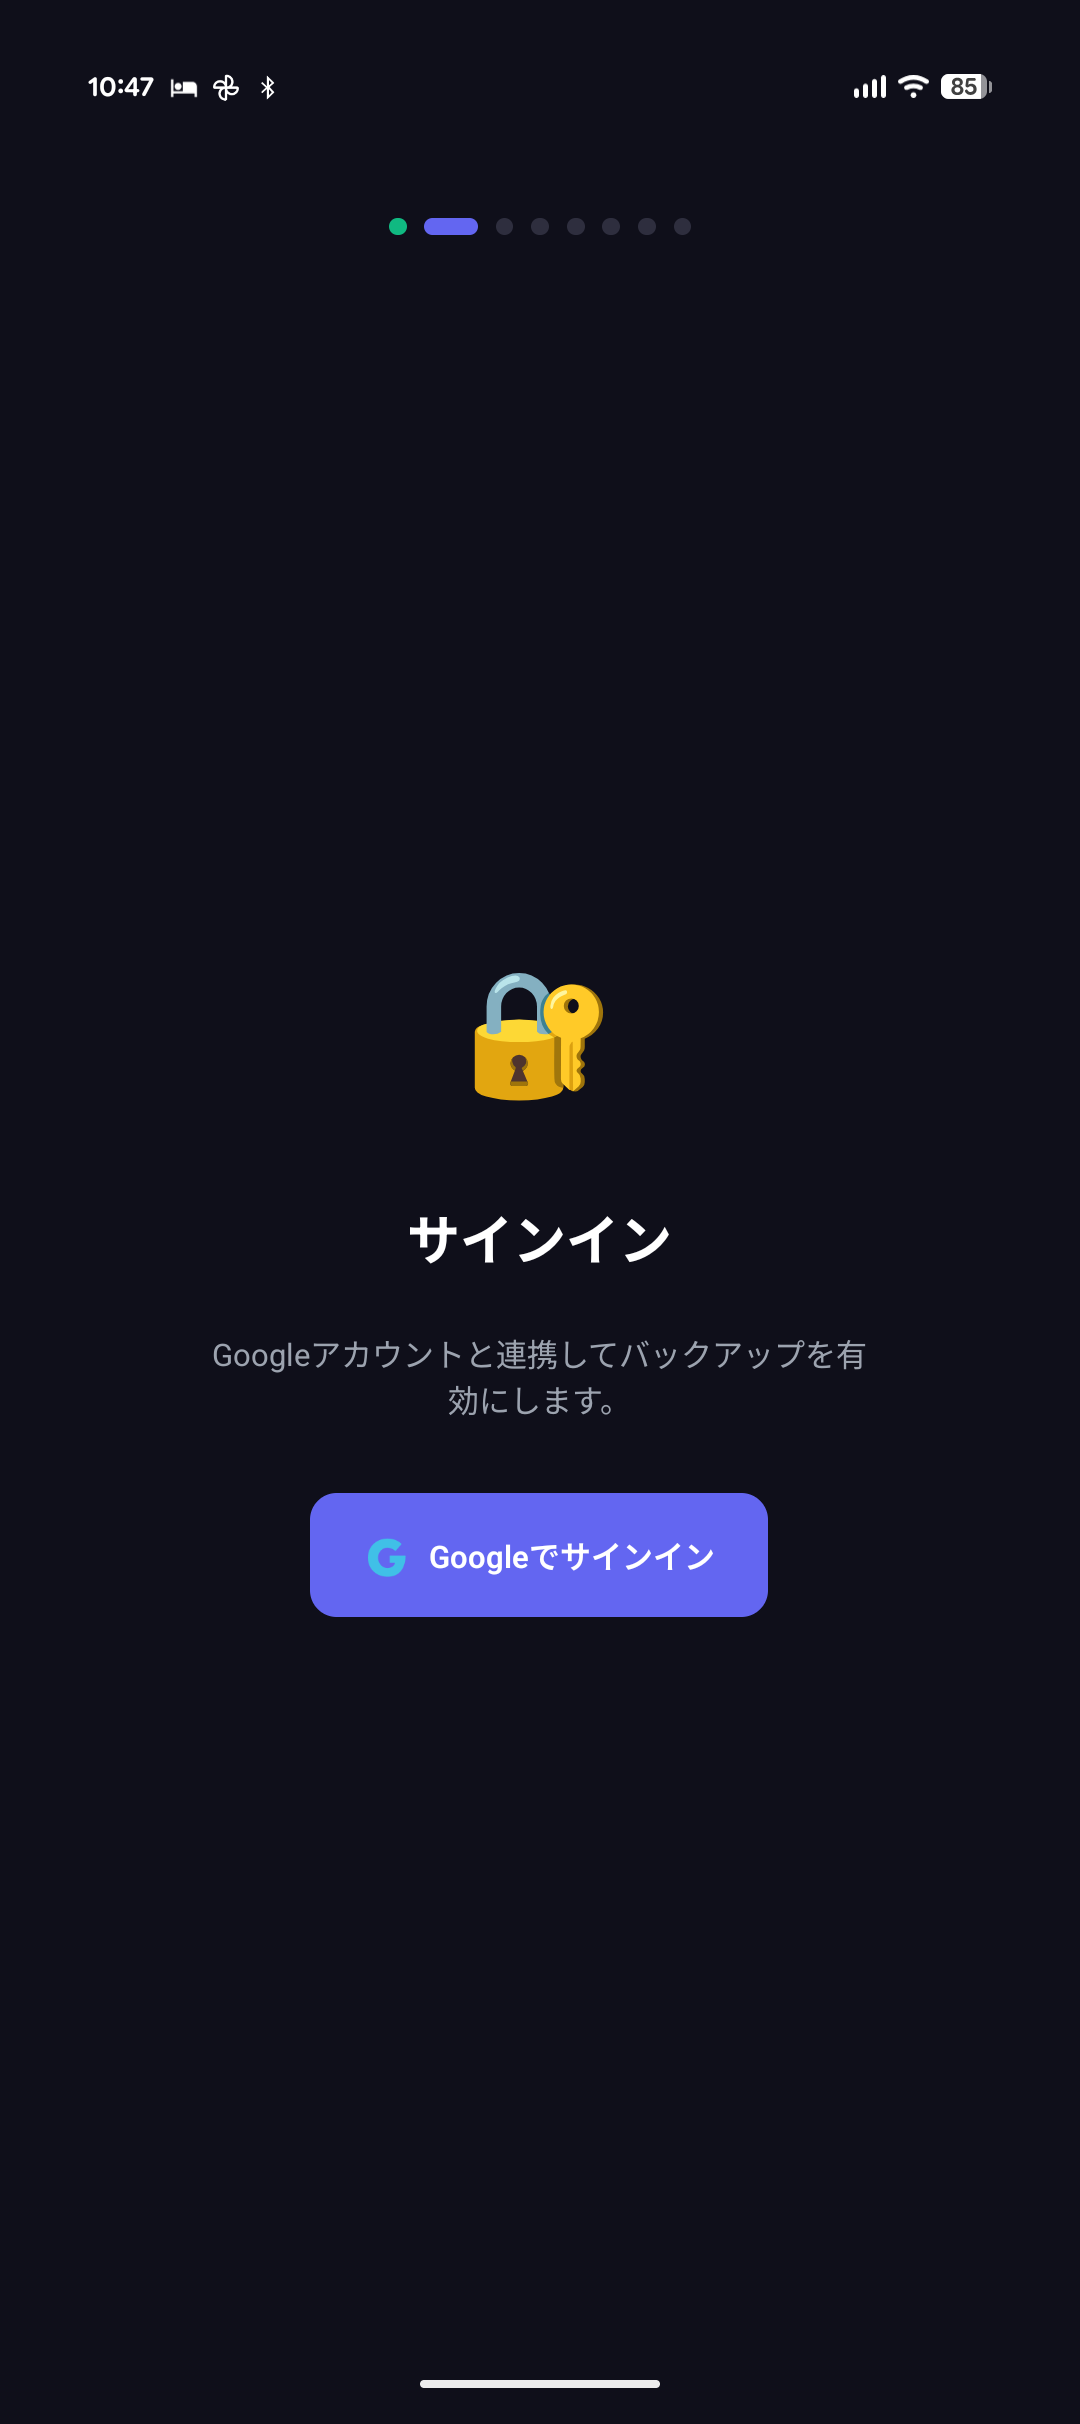
- Google Sign-In: Required to upload exported files to Google Drive.
- Health Data Permissions: Required to read data such as steps, weight, sleep, etc.
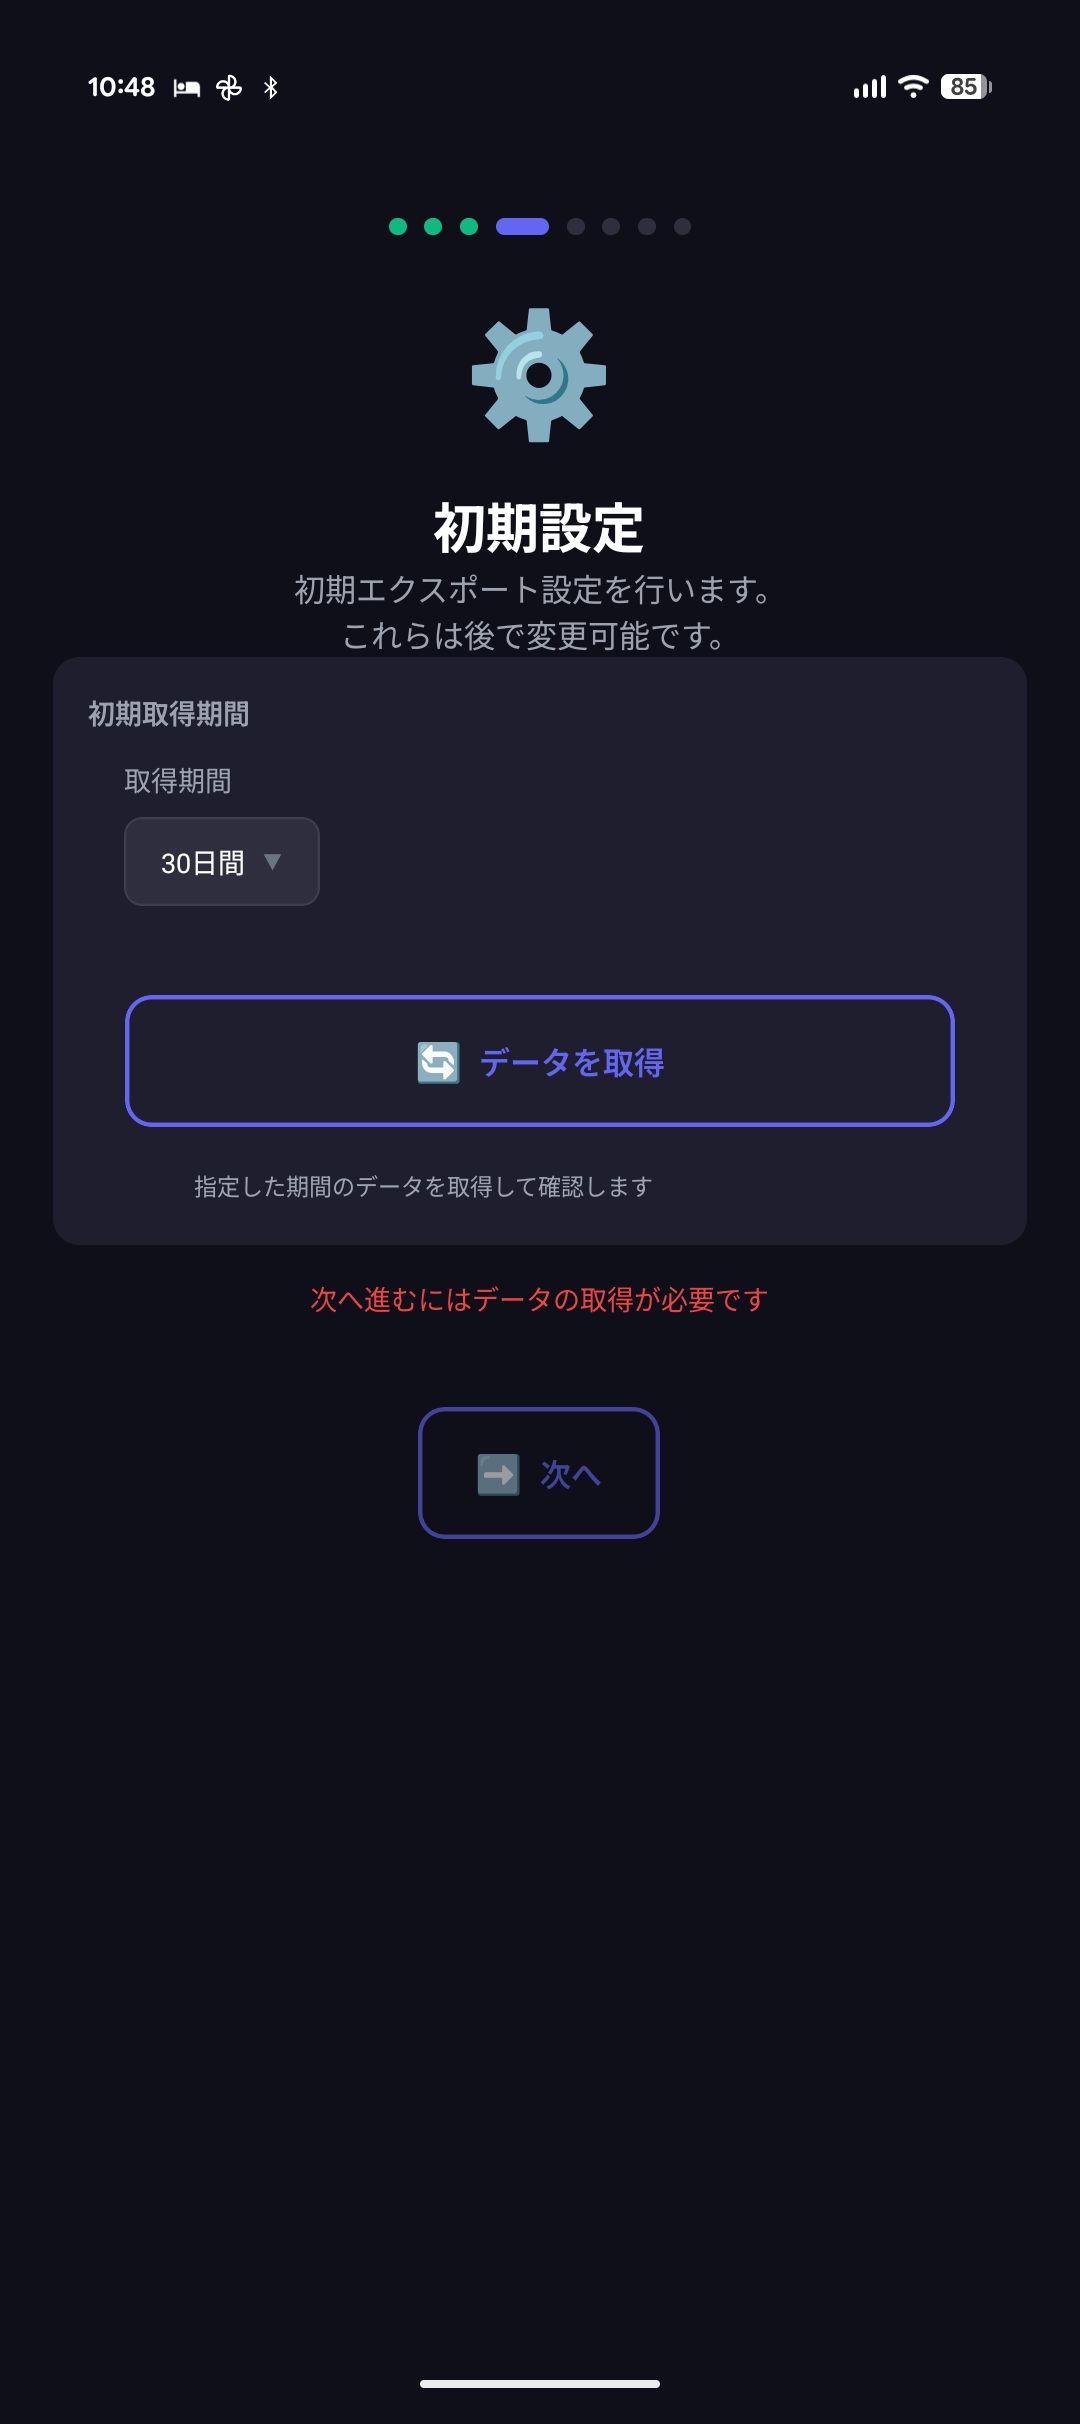
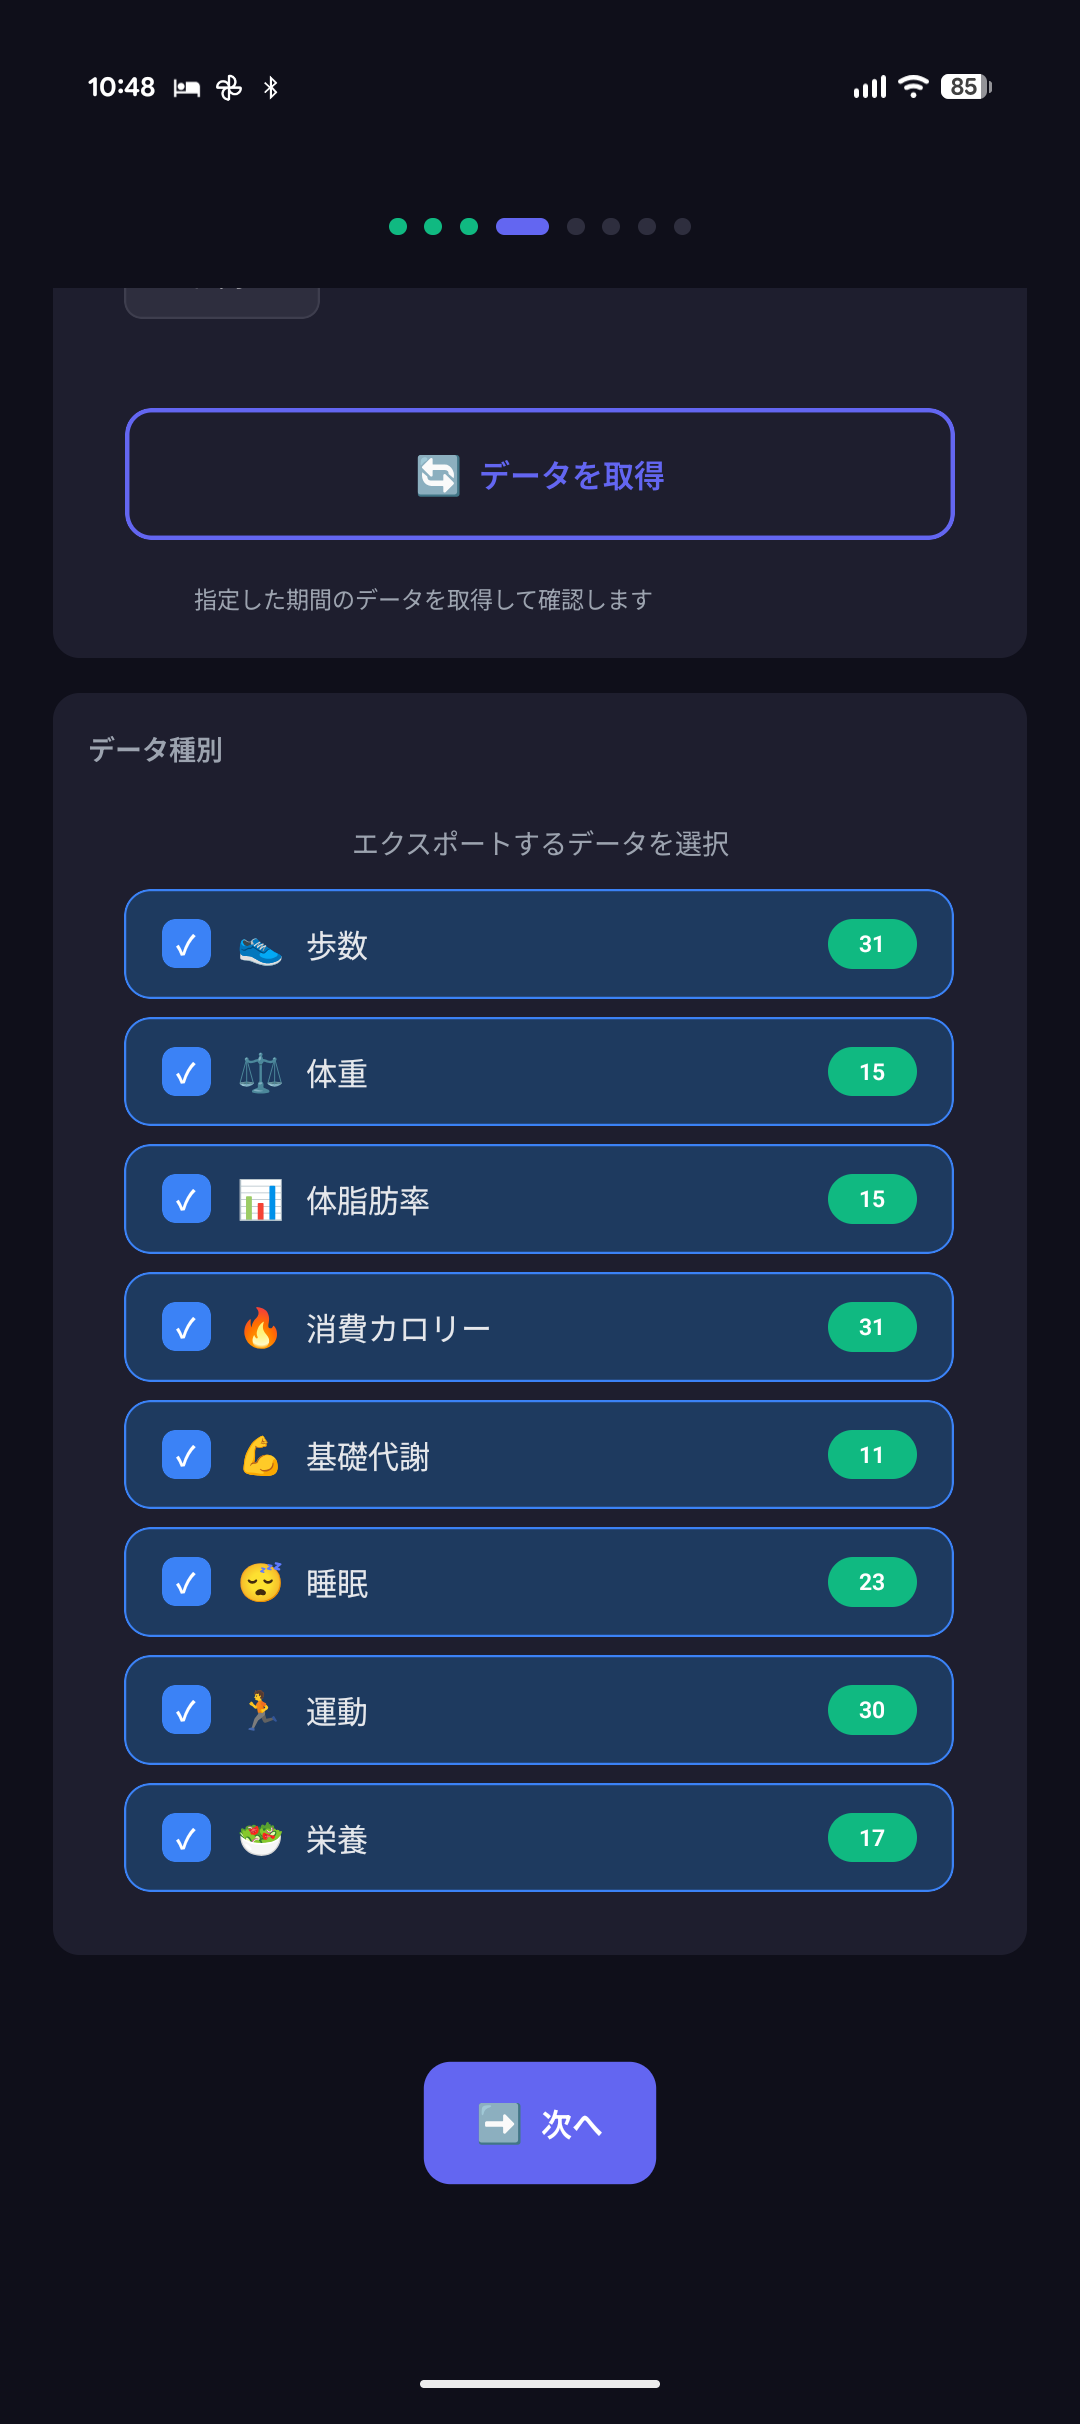
- Next, complete the initial setup. First, specify the historical range of data to retrieve from Health Connect. Once the retrieval is complete, specify “the types of data to export”.
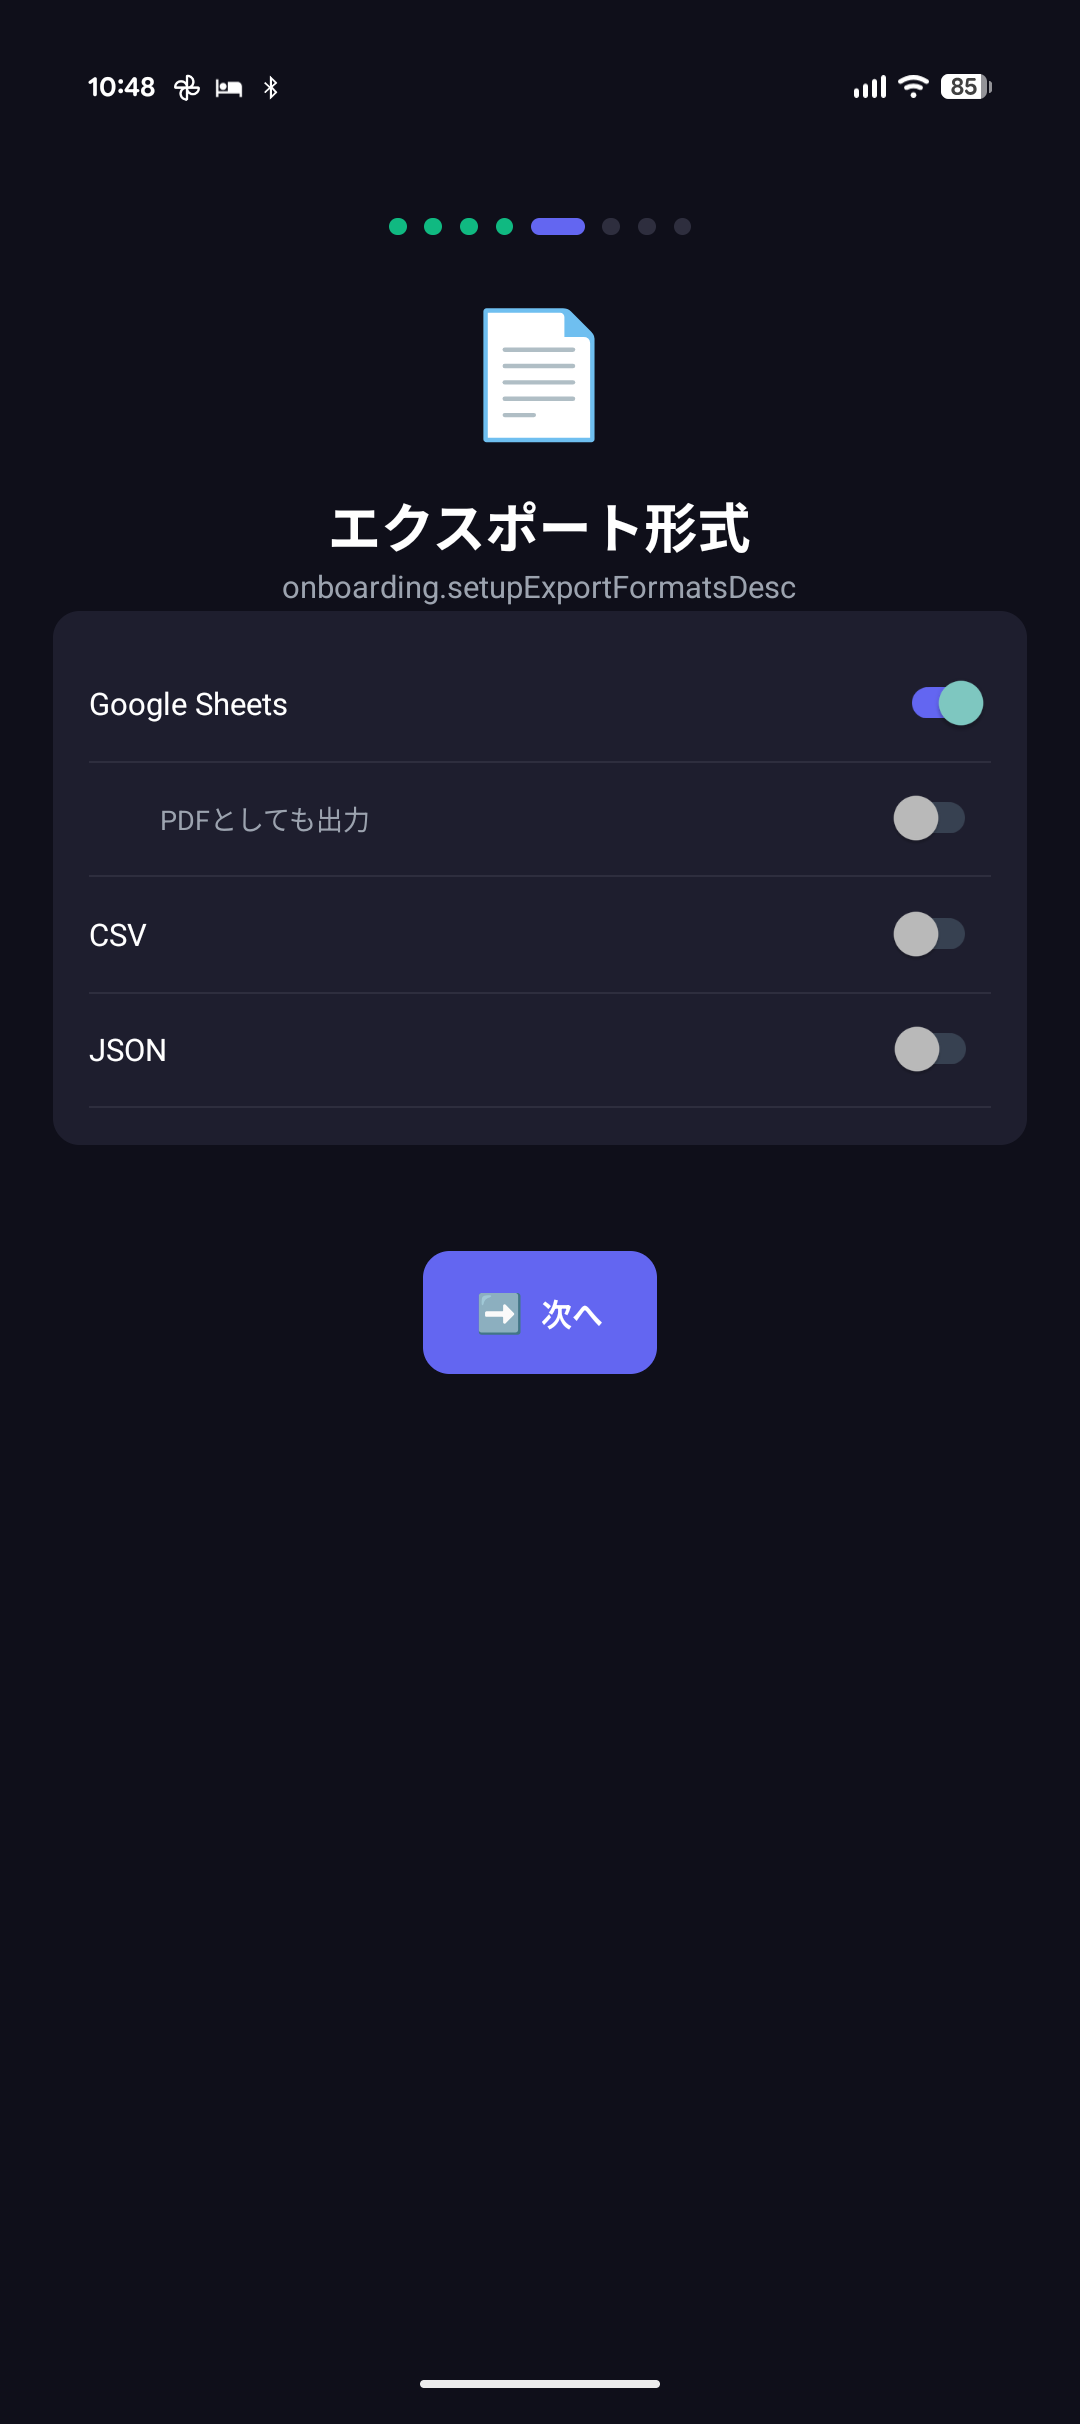
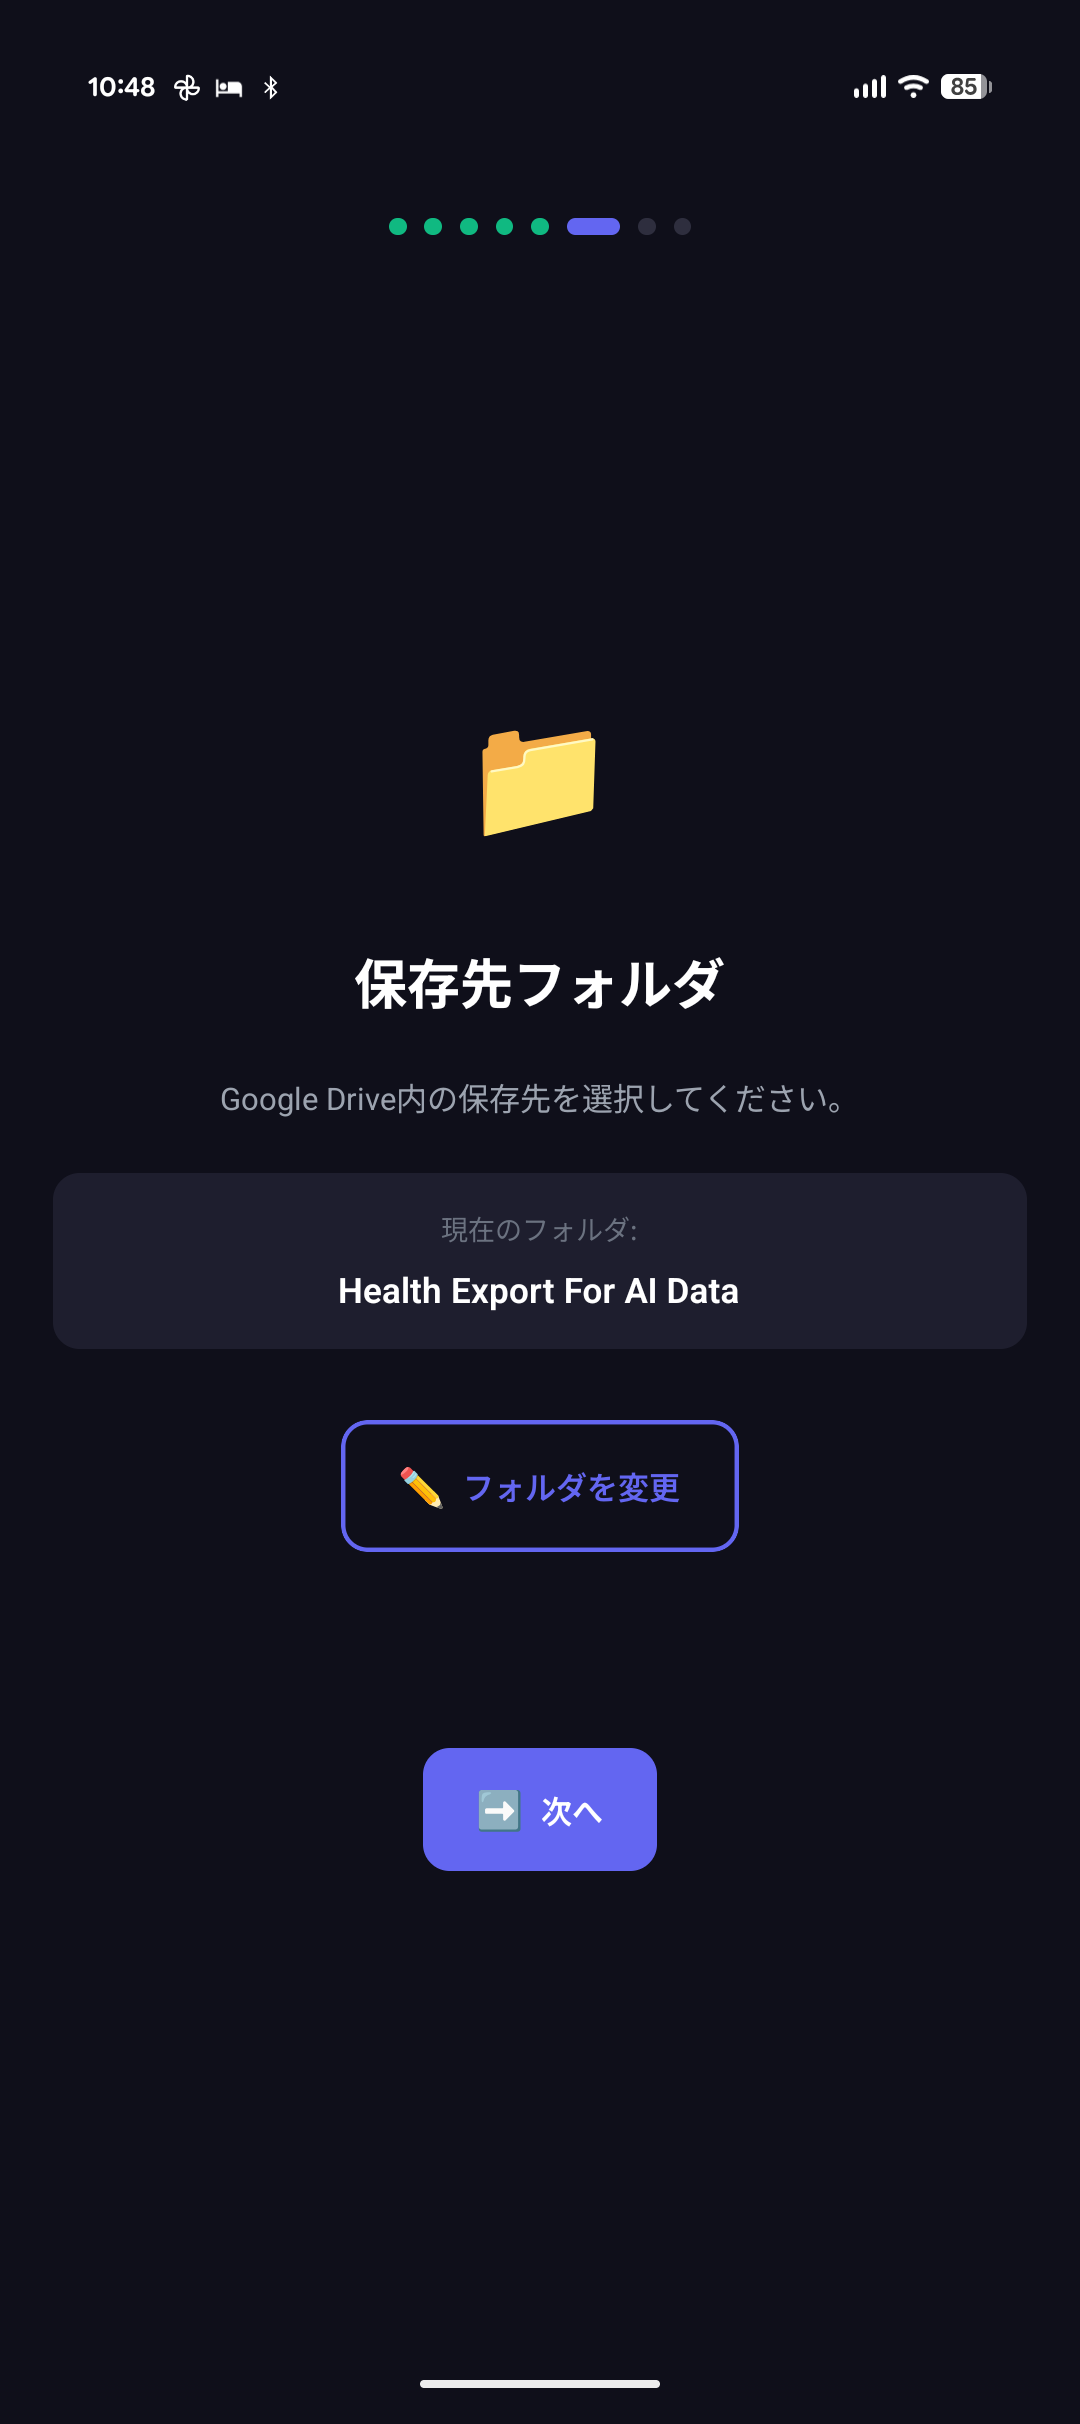
- Continue by specifying the file format for export and the destination folder on Google Drive.
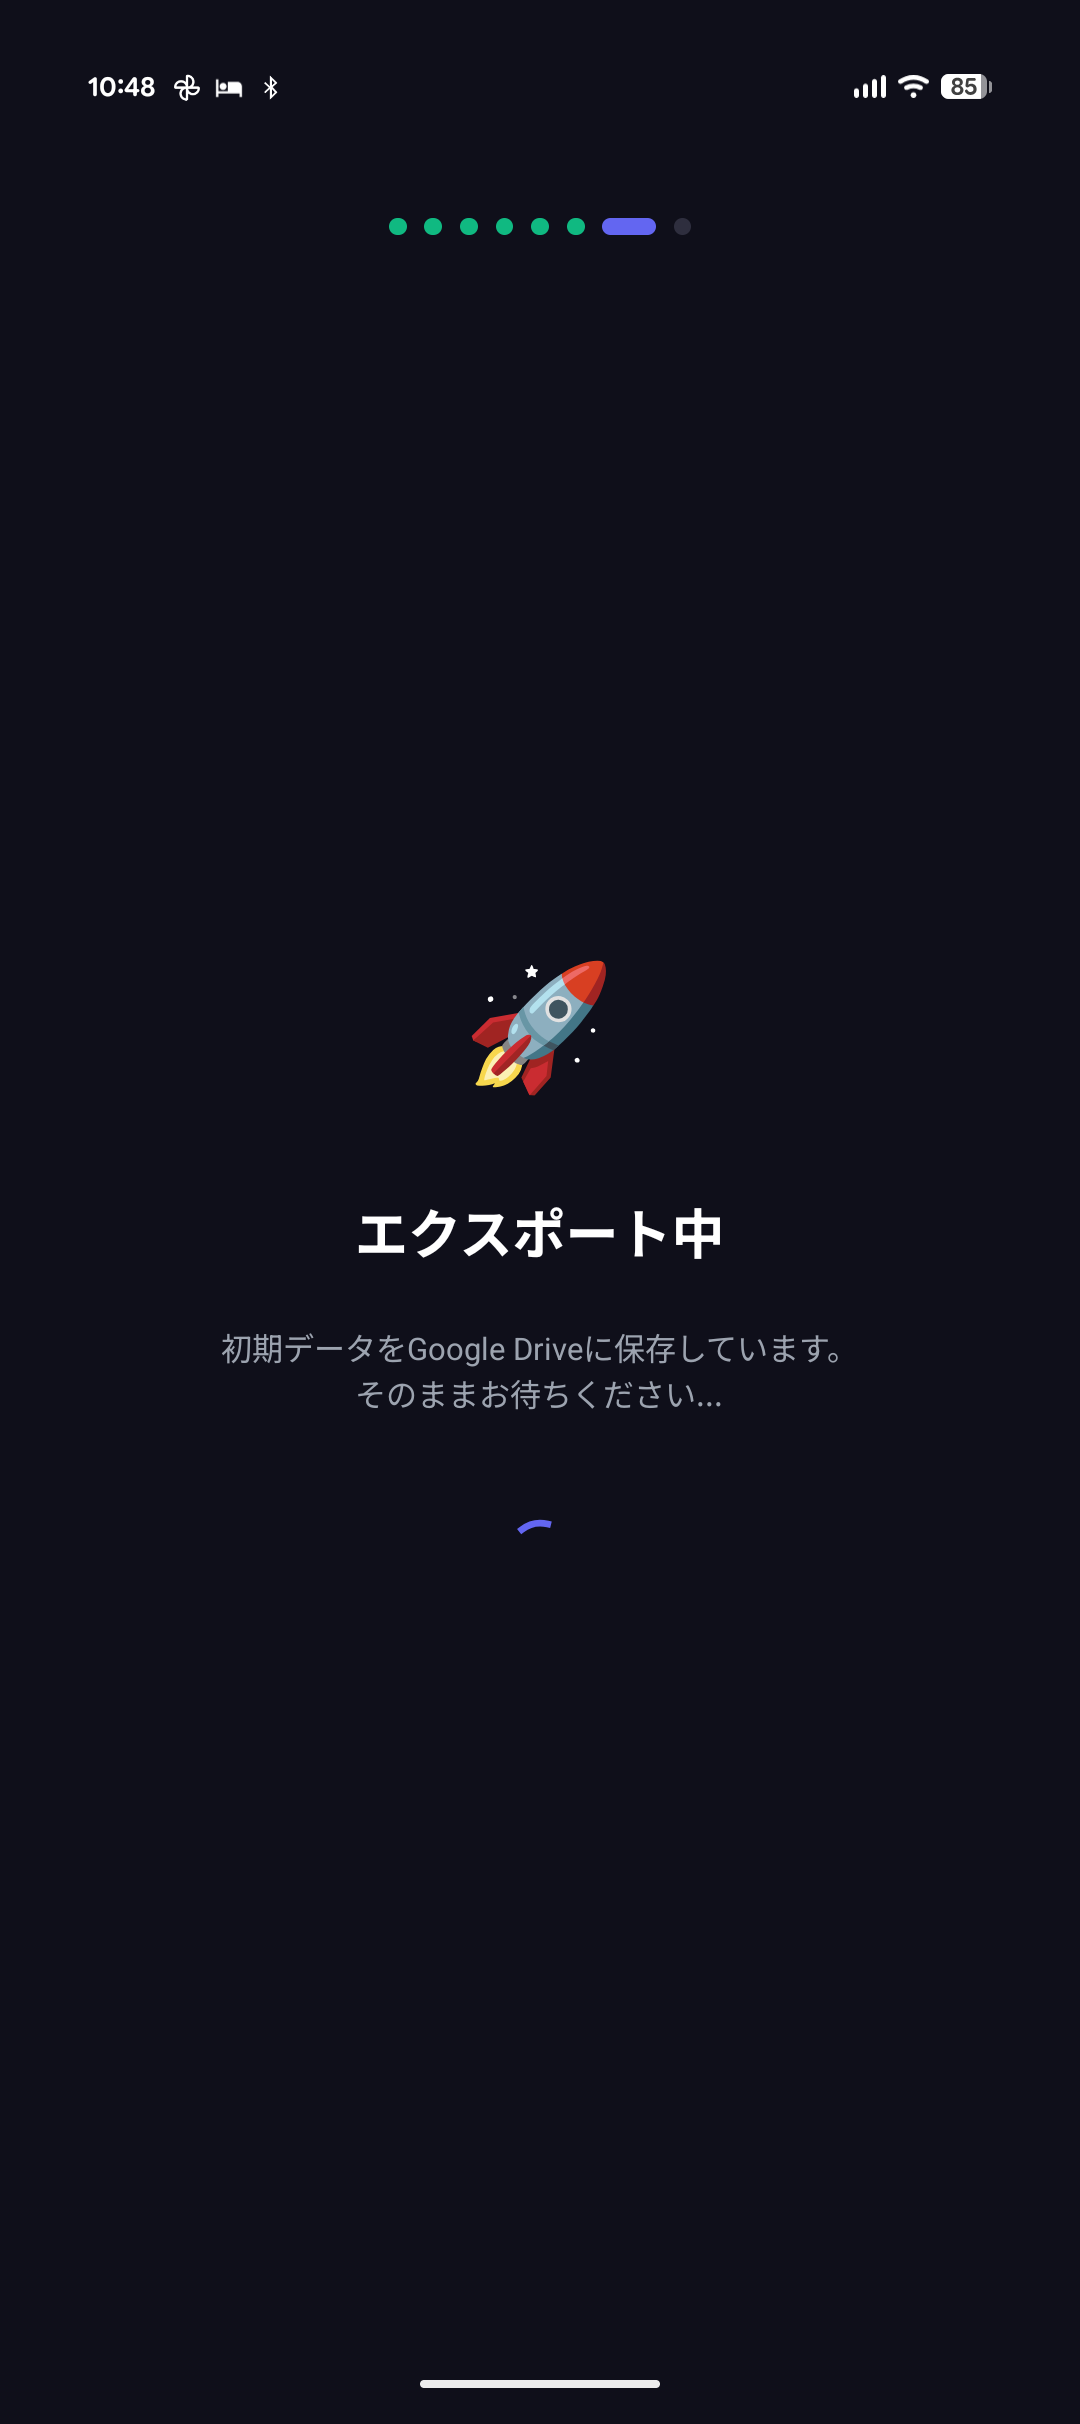
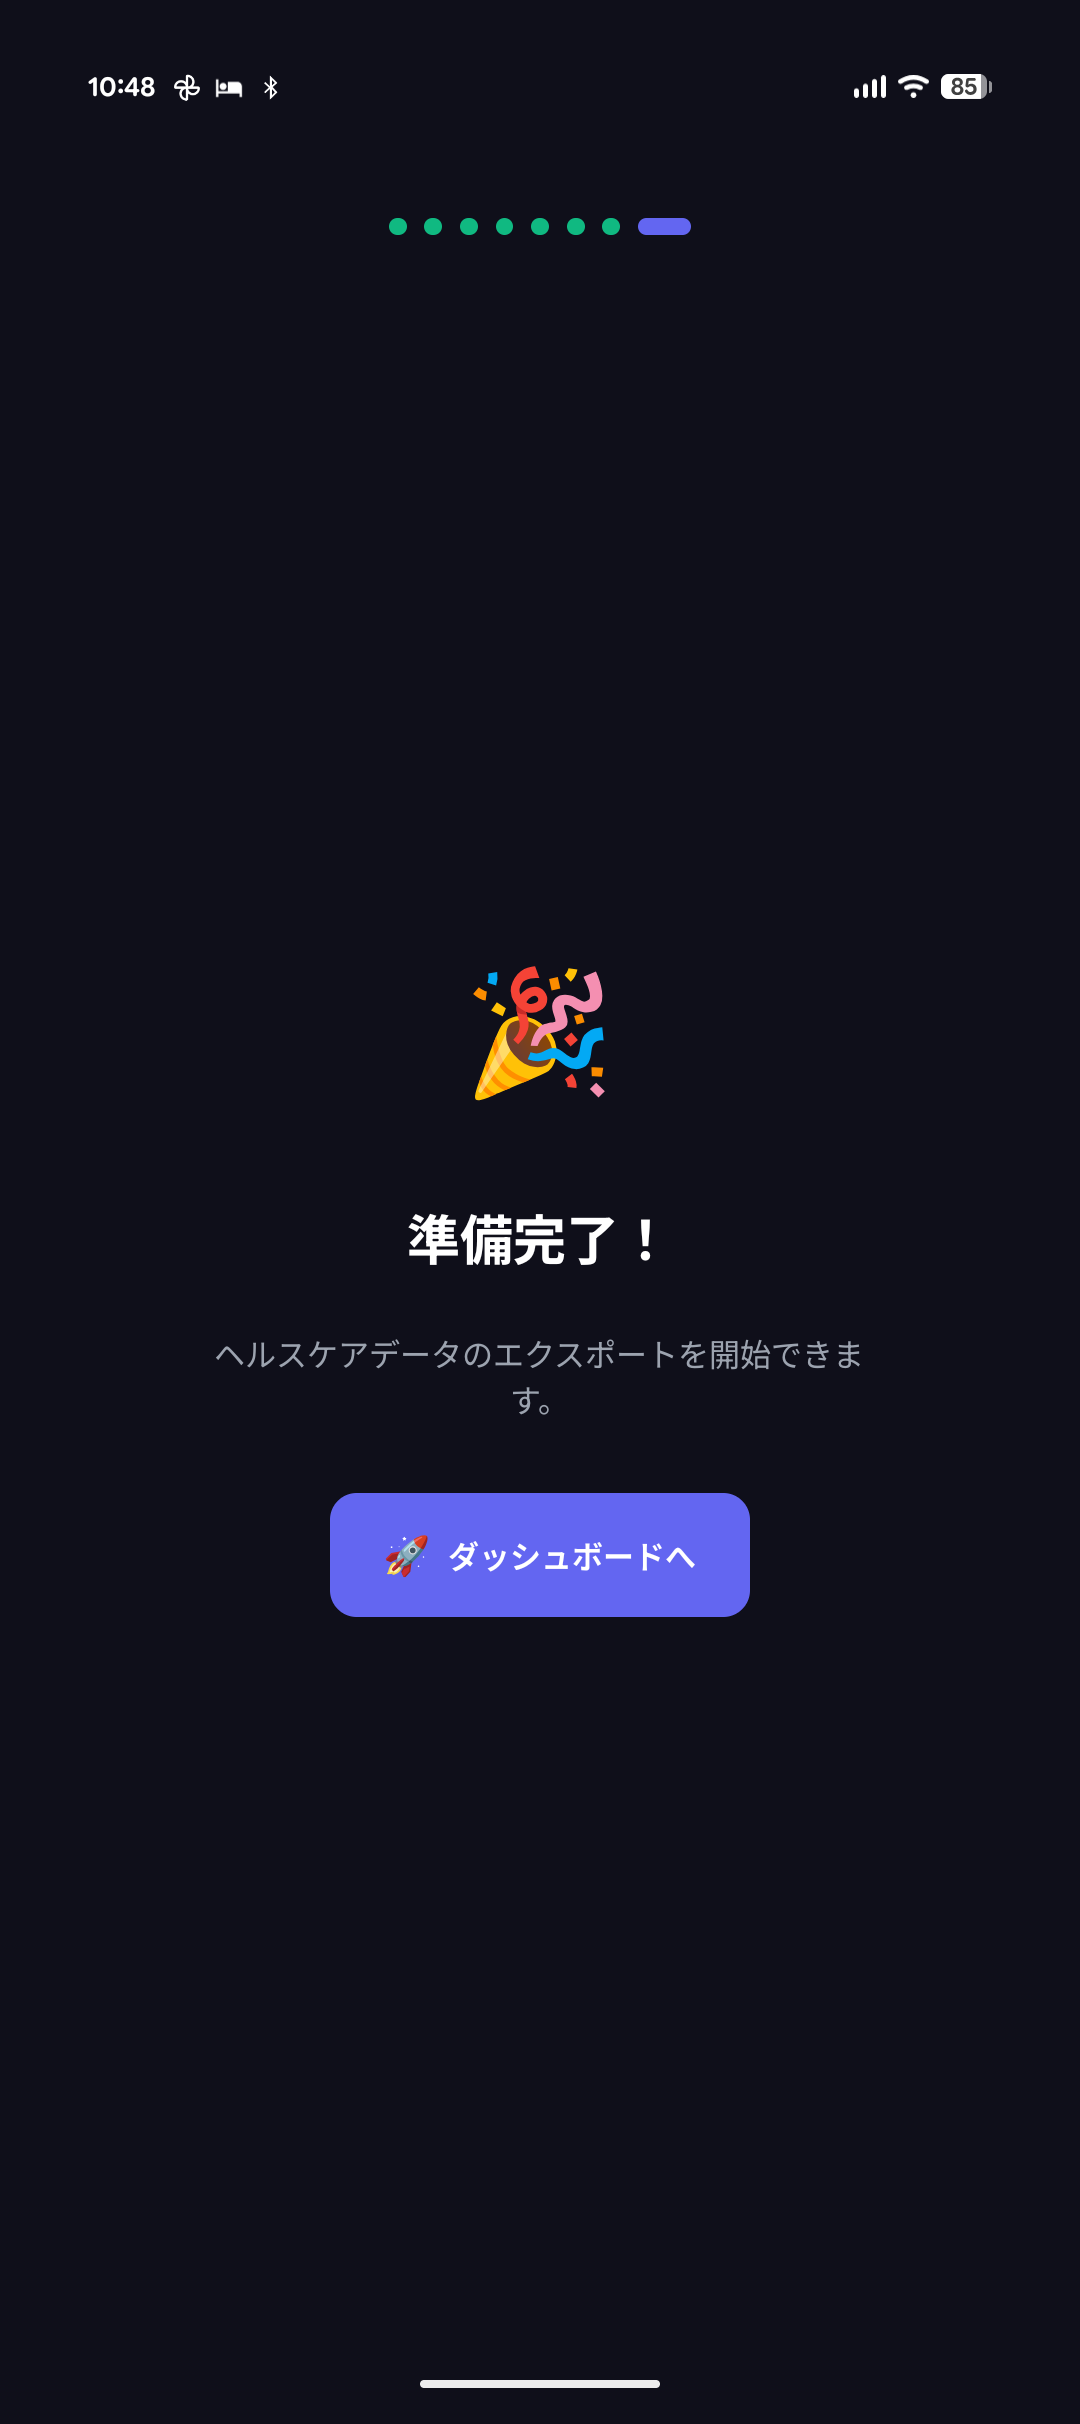
- You’re all set! Now, whenever you want to sync your data, just press the button in the app or tap the widget, and your Google Drive data will be updated!
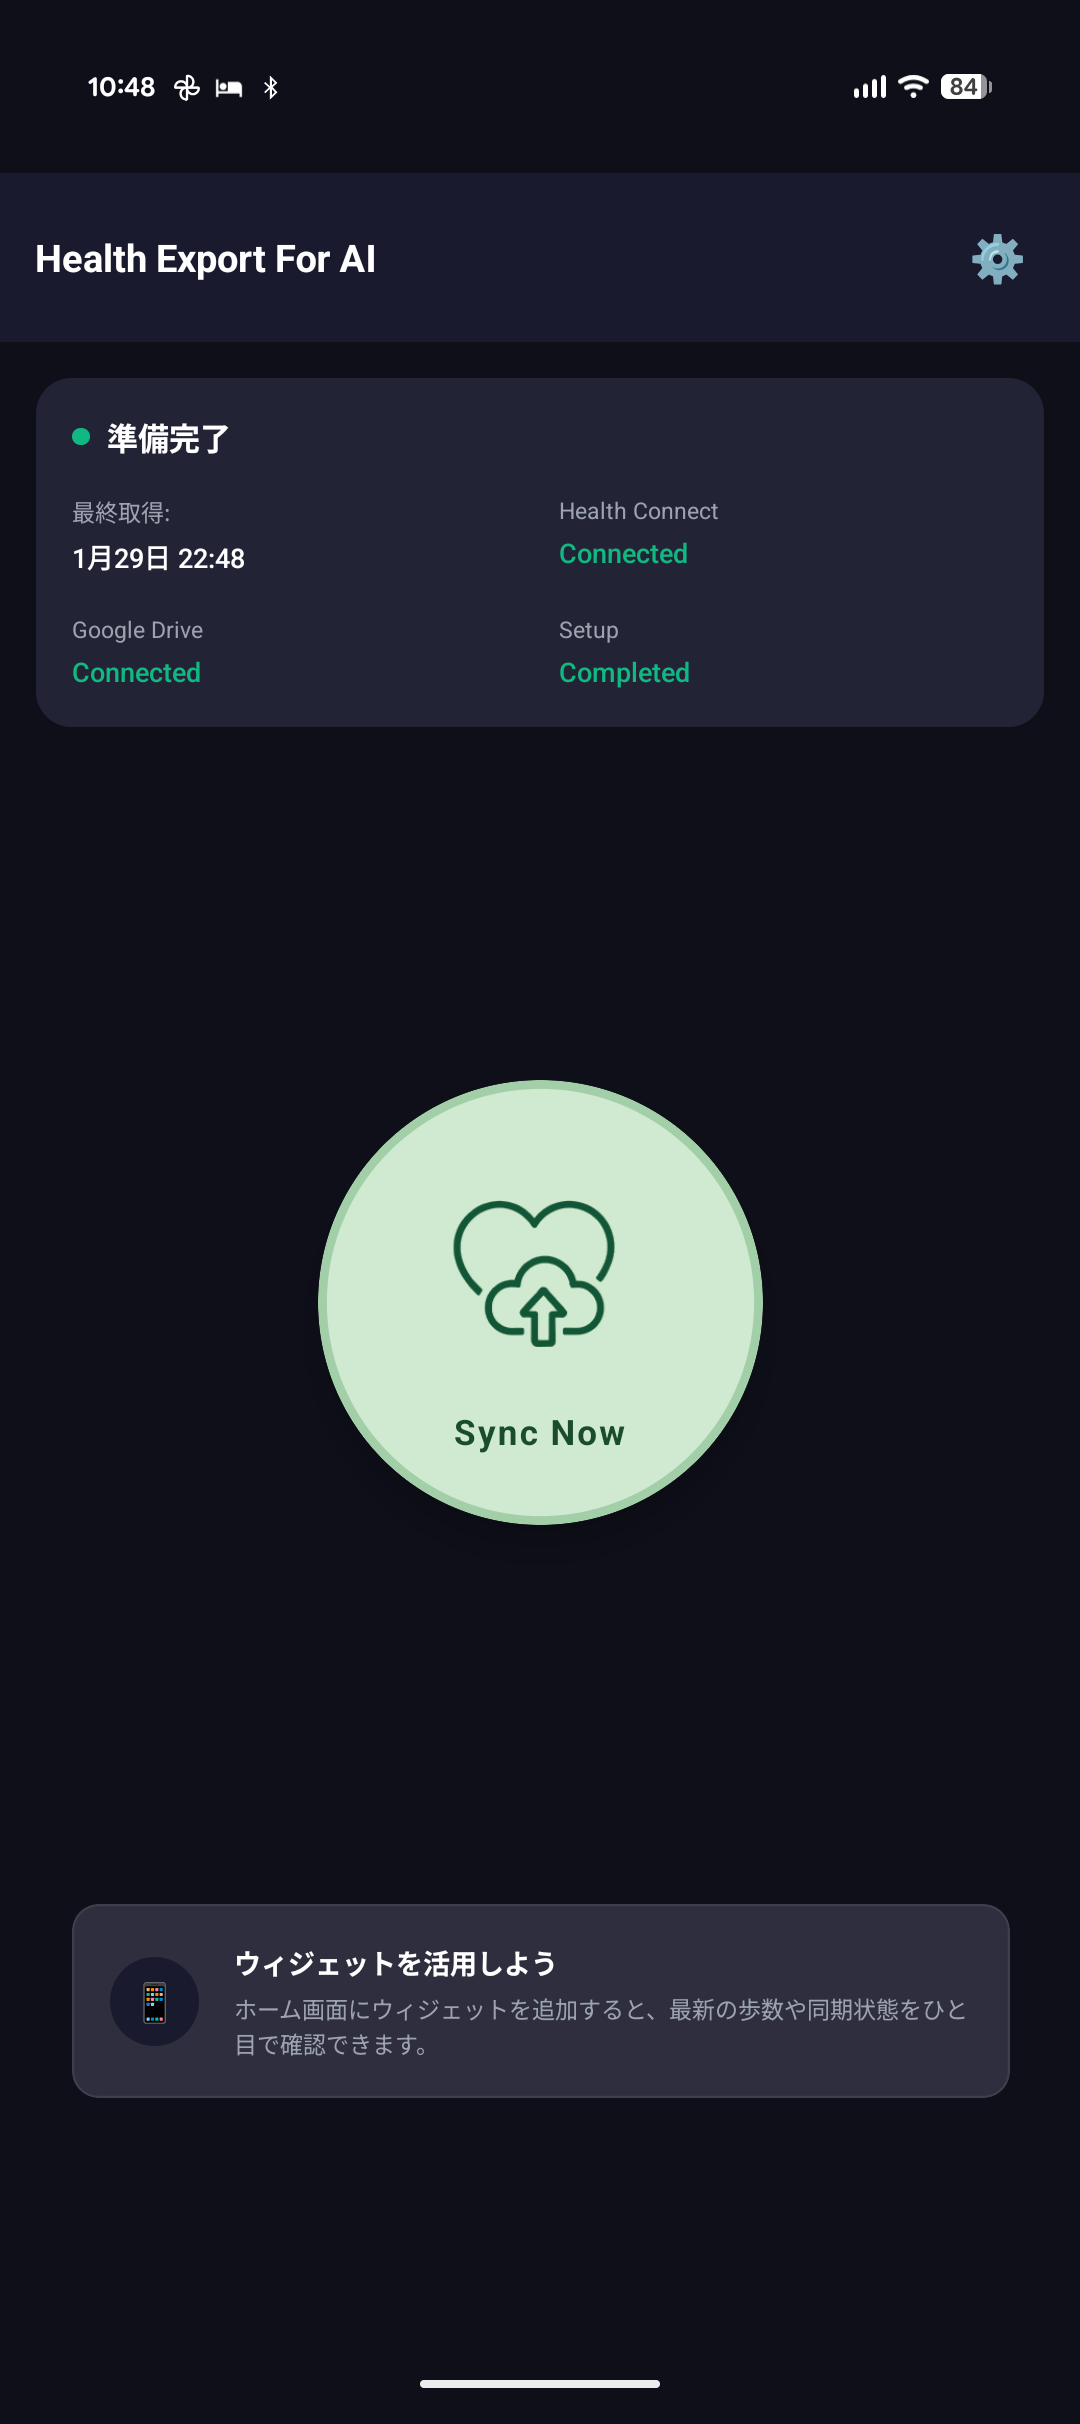
2. Syncing Data
By tapping “Sync Now”, you can retrieve the latest data from Health Connect and save it to Google Drive.
(After the first sync, only the difference since the last sync will be added.)
3. Syncing with Widgets (Android Only)
On Android, by adding a widget to your home screen, you can perform synchronization with a single tap.
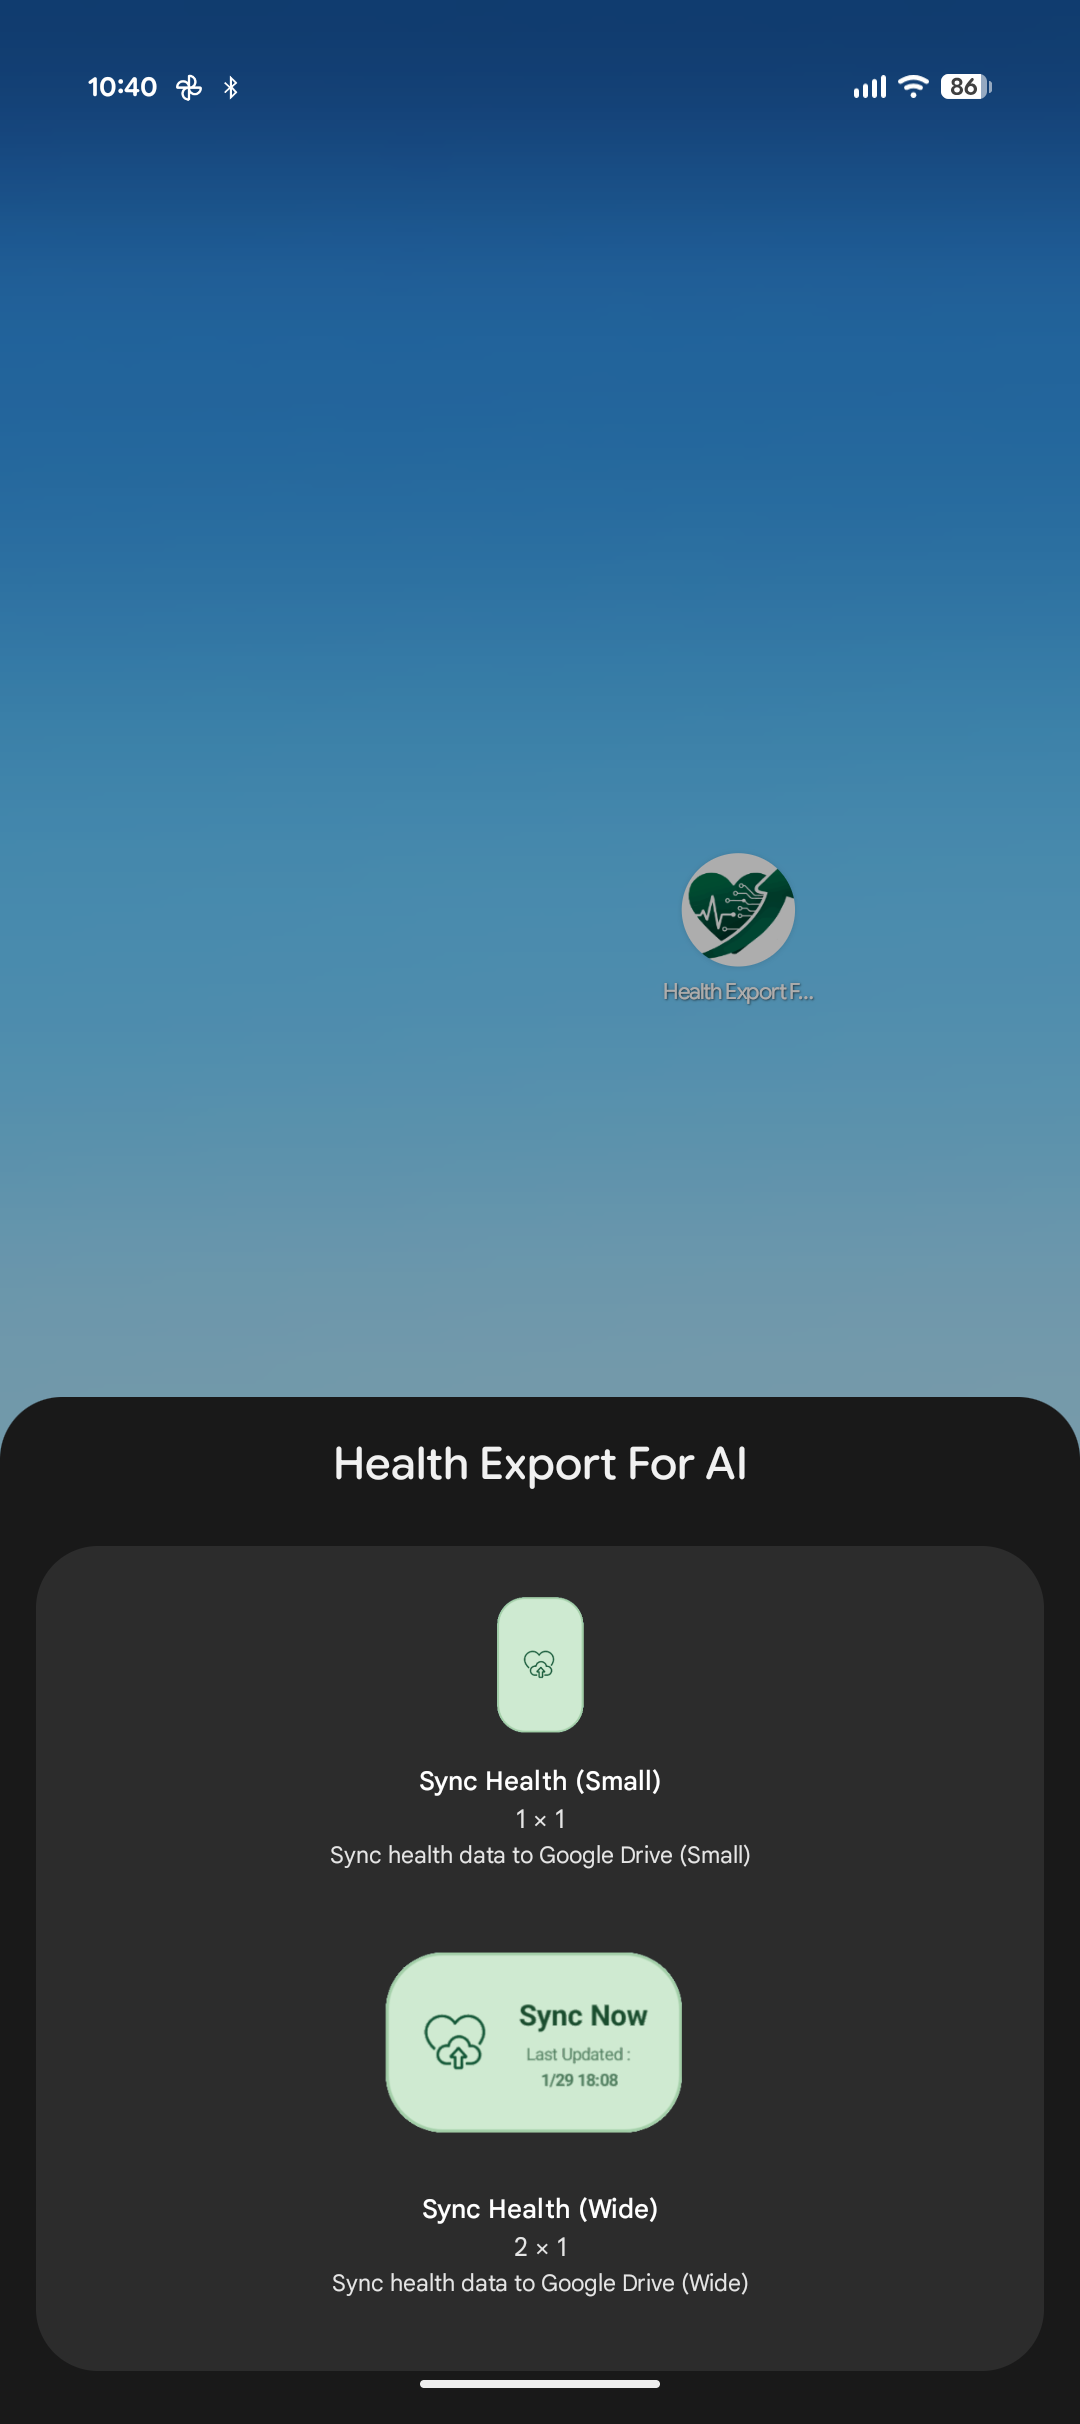
- Long-press on the Android home screen and select “Widgets”.
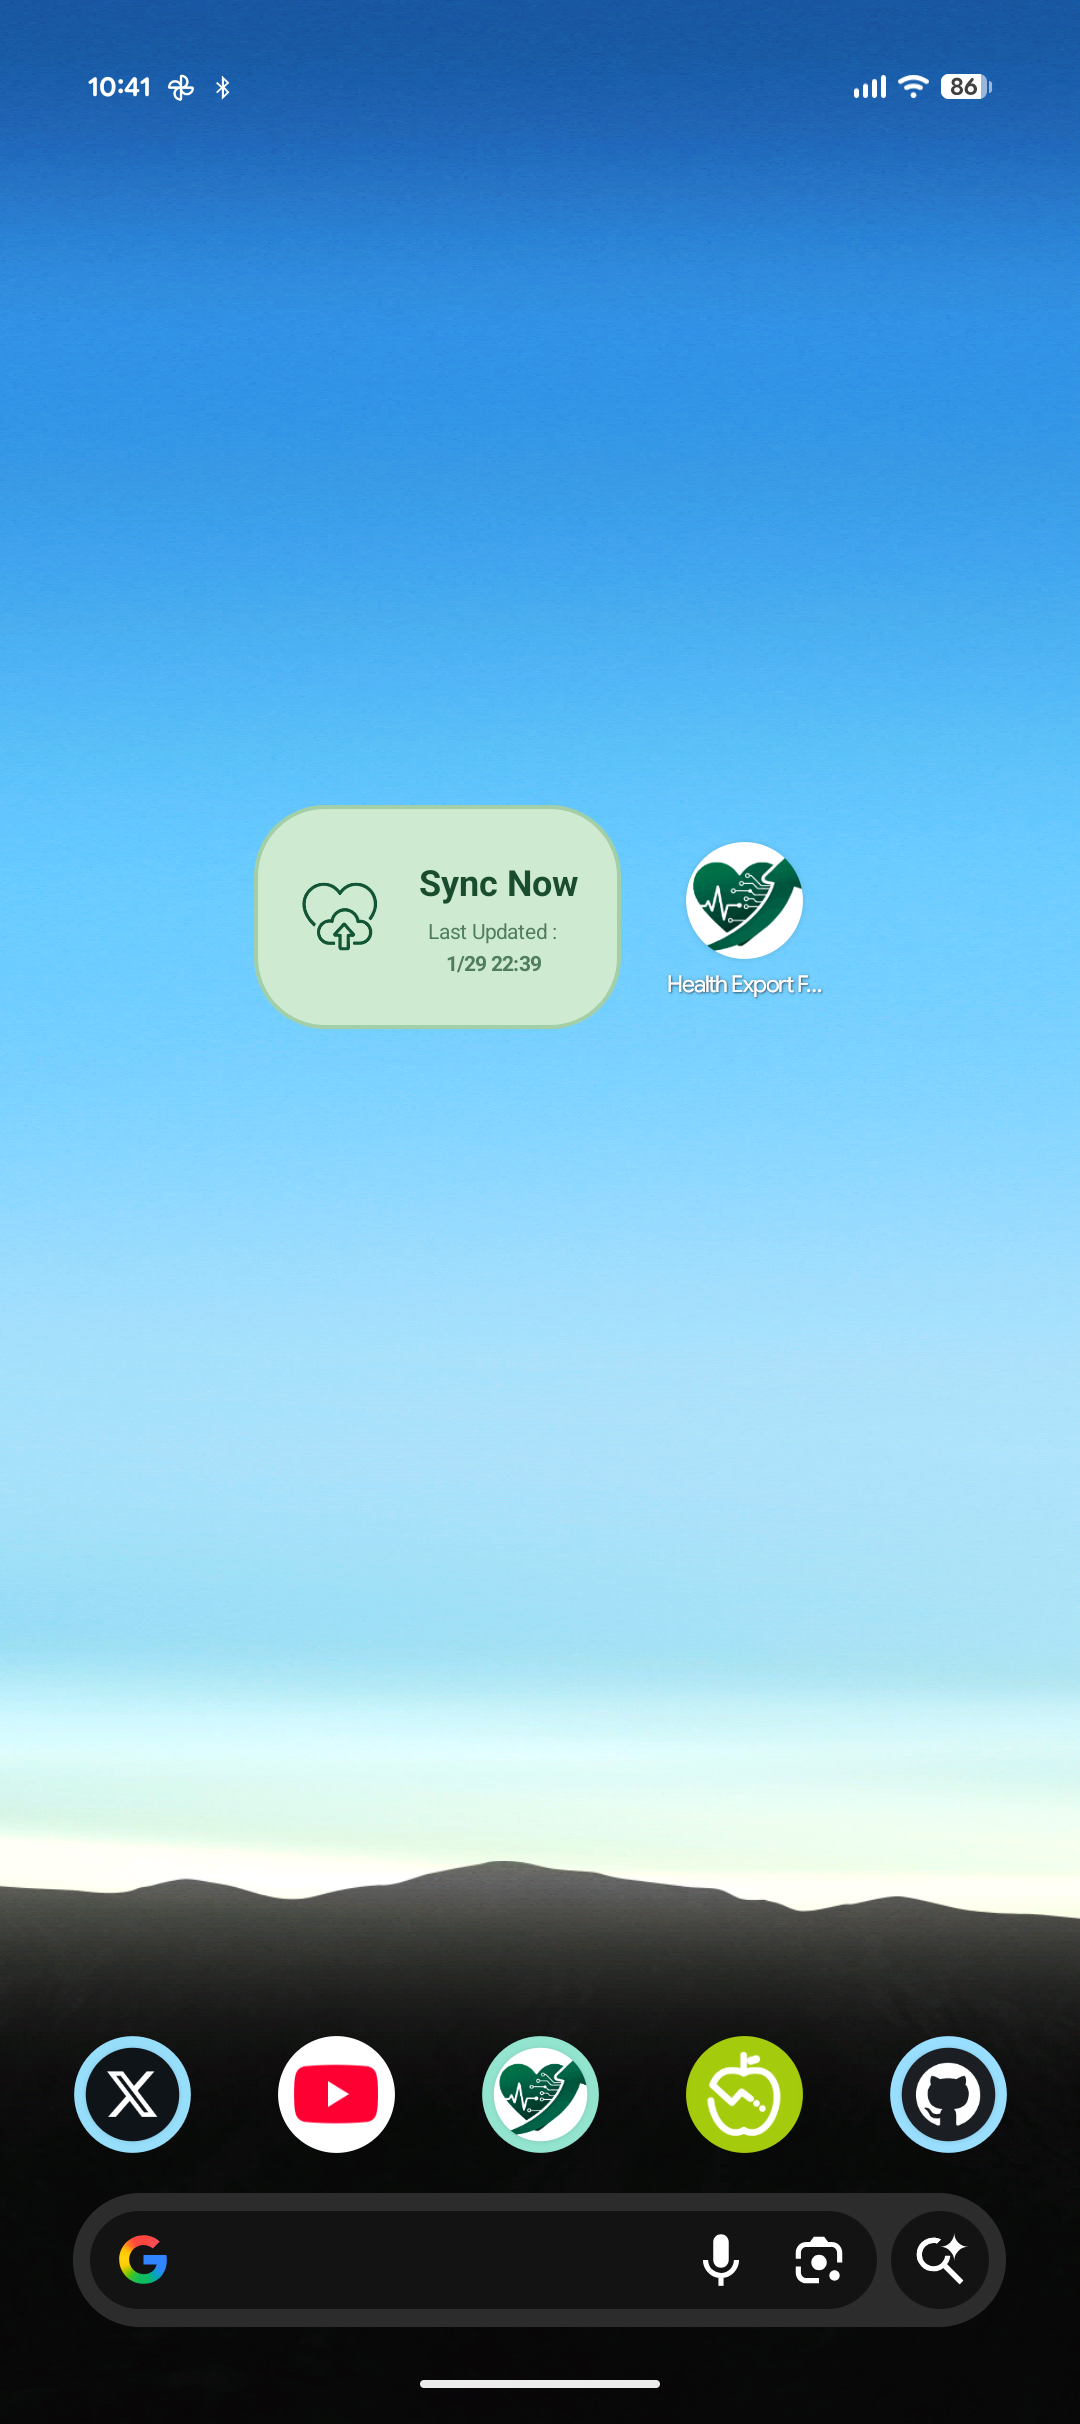
- Find Health Export For AI and place the widget anywhere on your home screen.
(You can also place the widget via the menu shown by long-pressing the app icon.)
- Tapping the widget will start the synchronization process in the background.
4. Changing Settings
You can change various settings, such as the export format, from the settings screen (gear icon).

If you have any questions, please post them to GitHub Issue.